How to Print Lessons: Teacher Version
Follow the steps below to open and print the Teacher PDF.
Step-by-Step Instructions
Log into your Ellii teacher account here:
Step 1
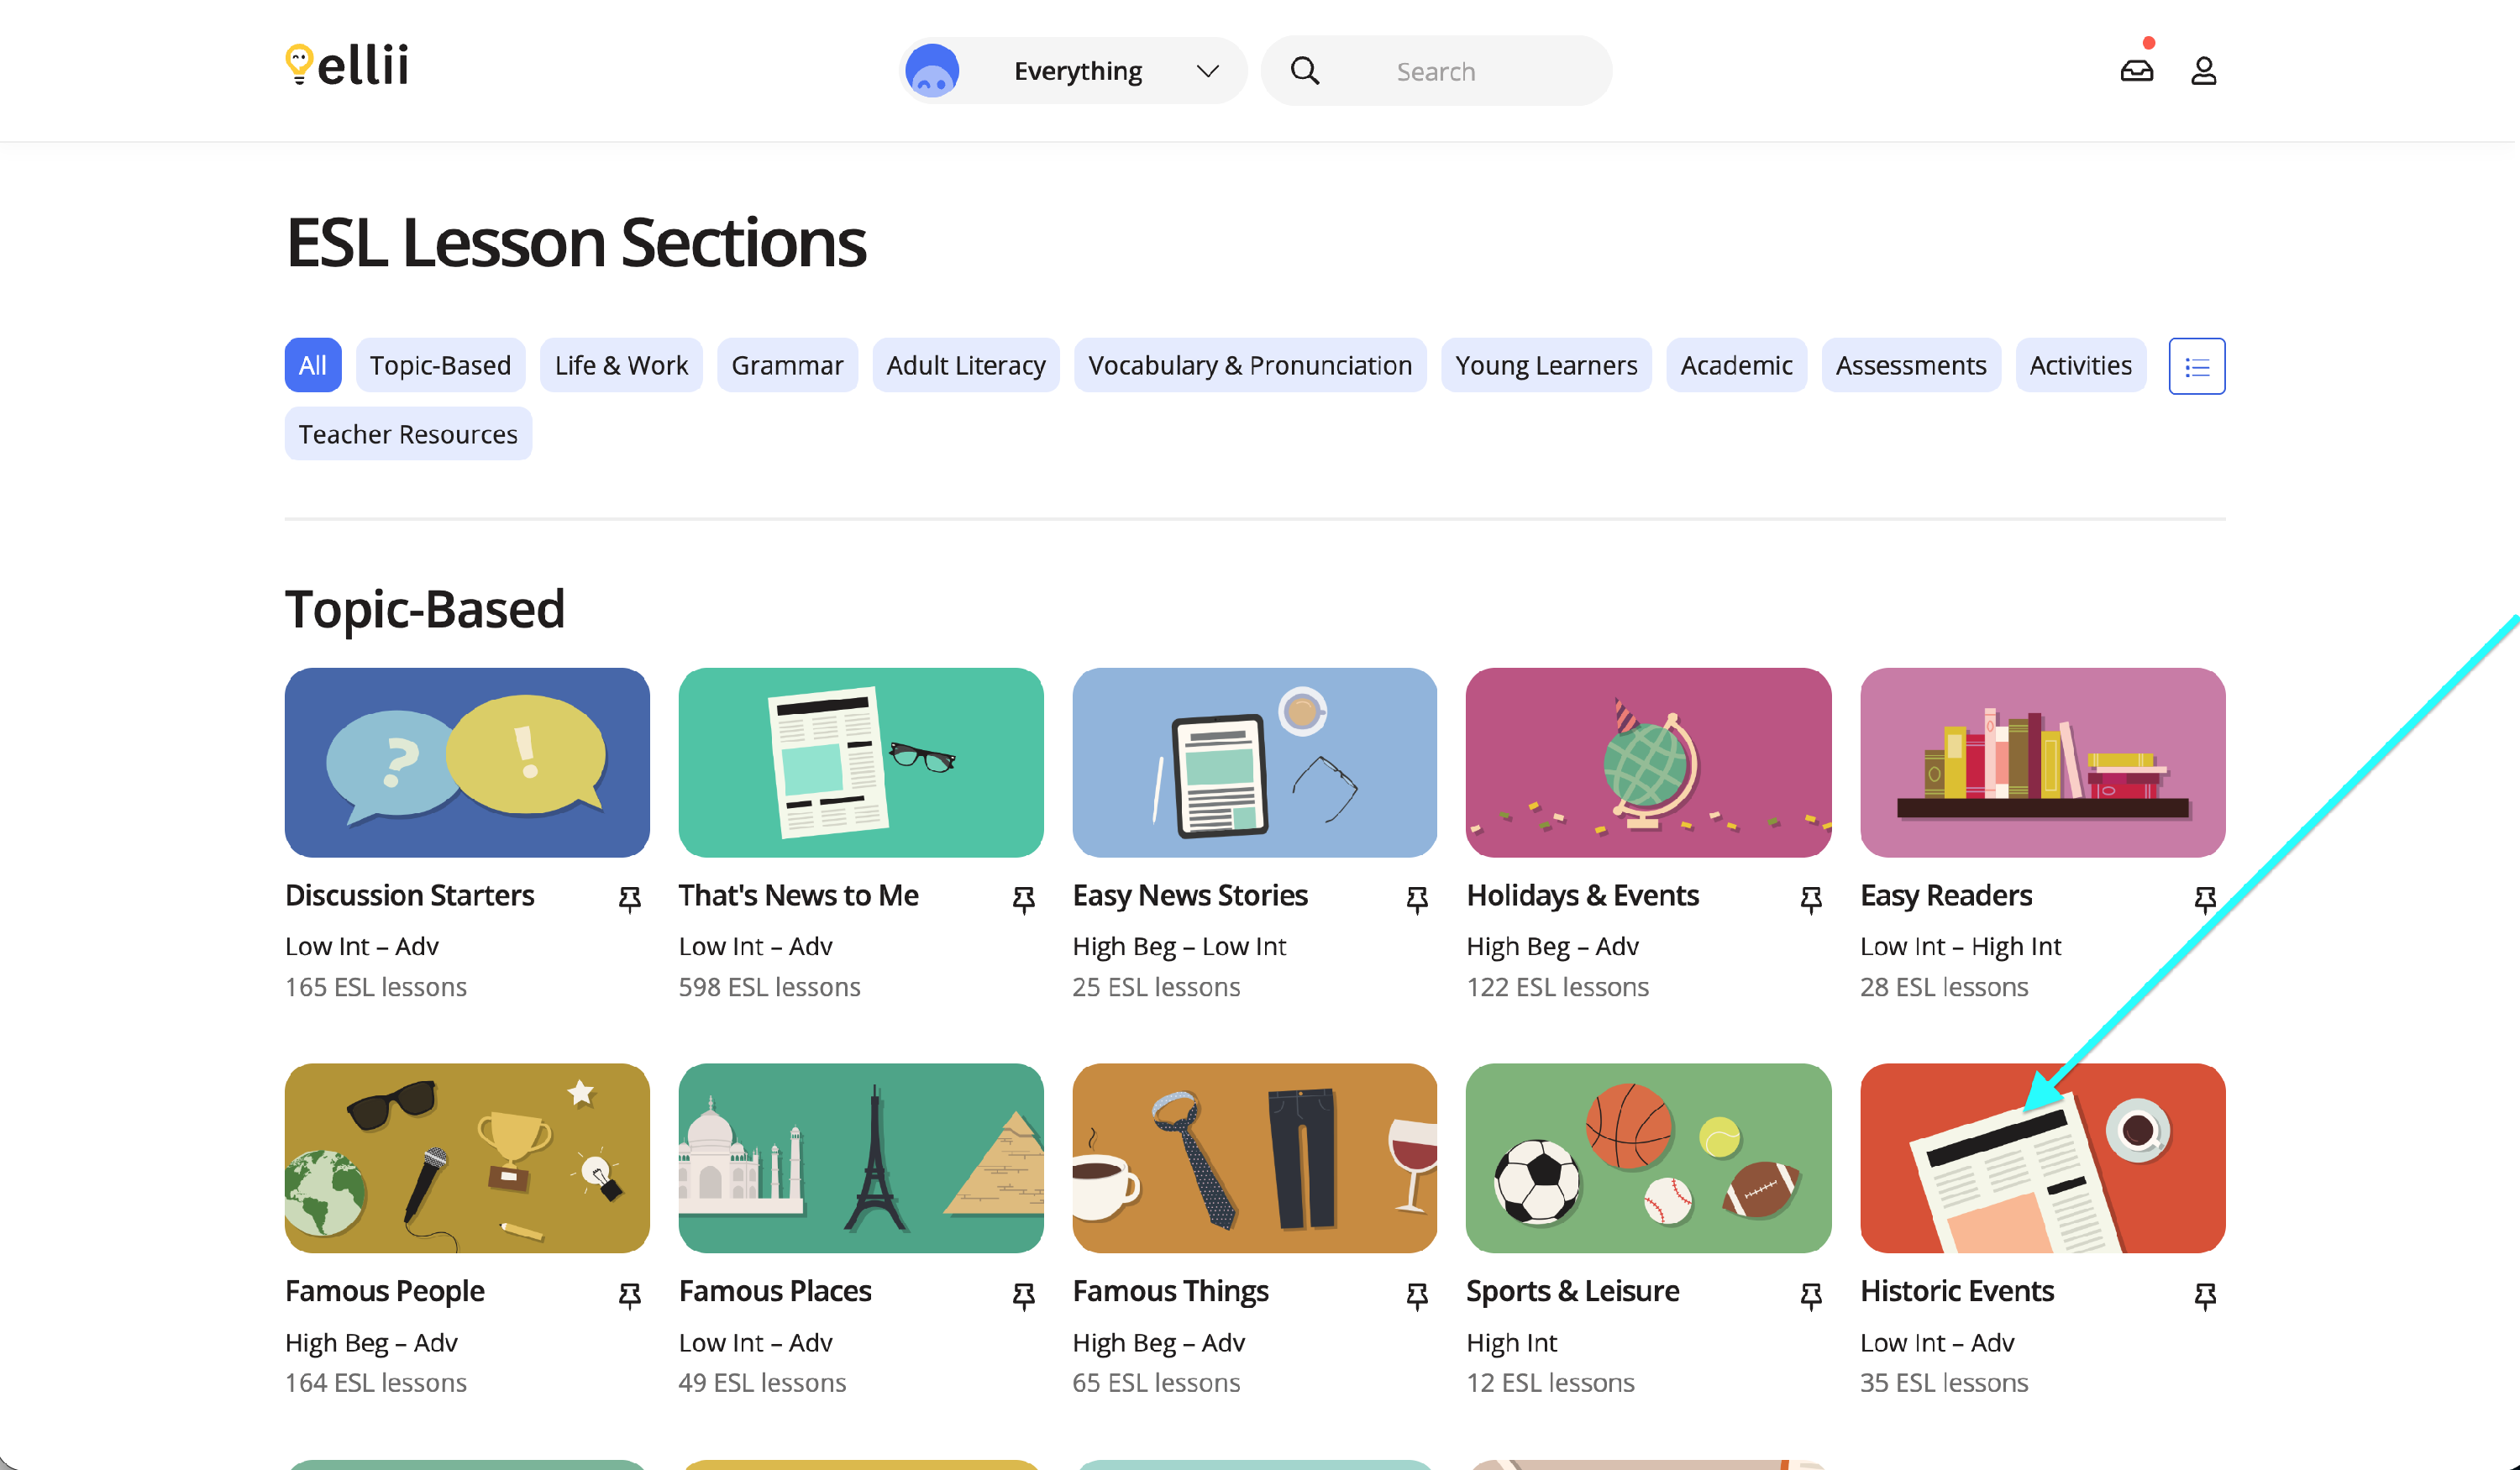
Click on the Everything menu and choose Lessons.


Step 2
Choose a lesson section.
Step 3
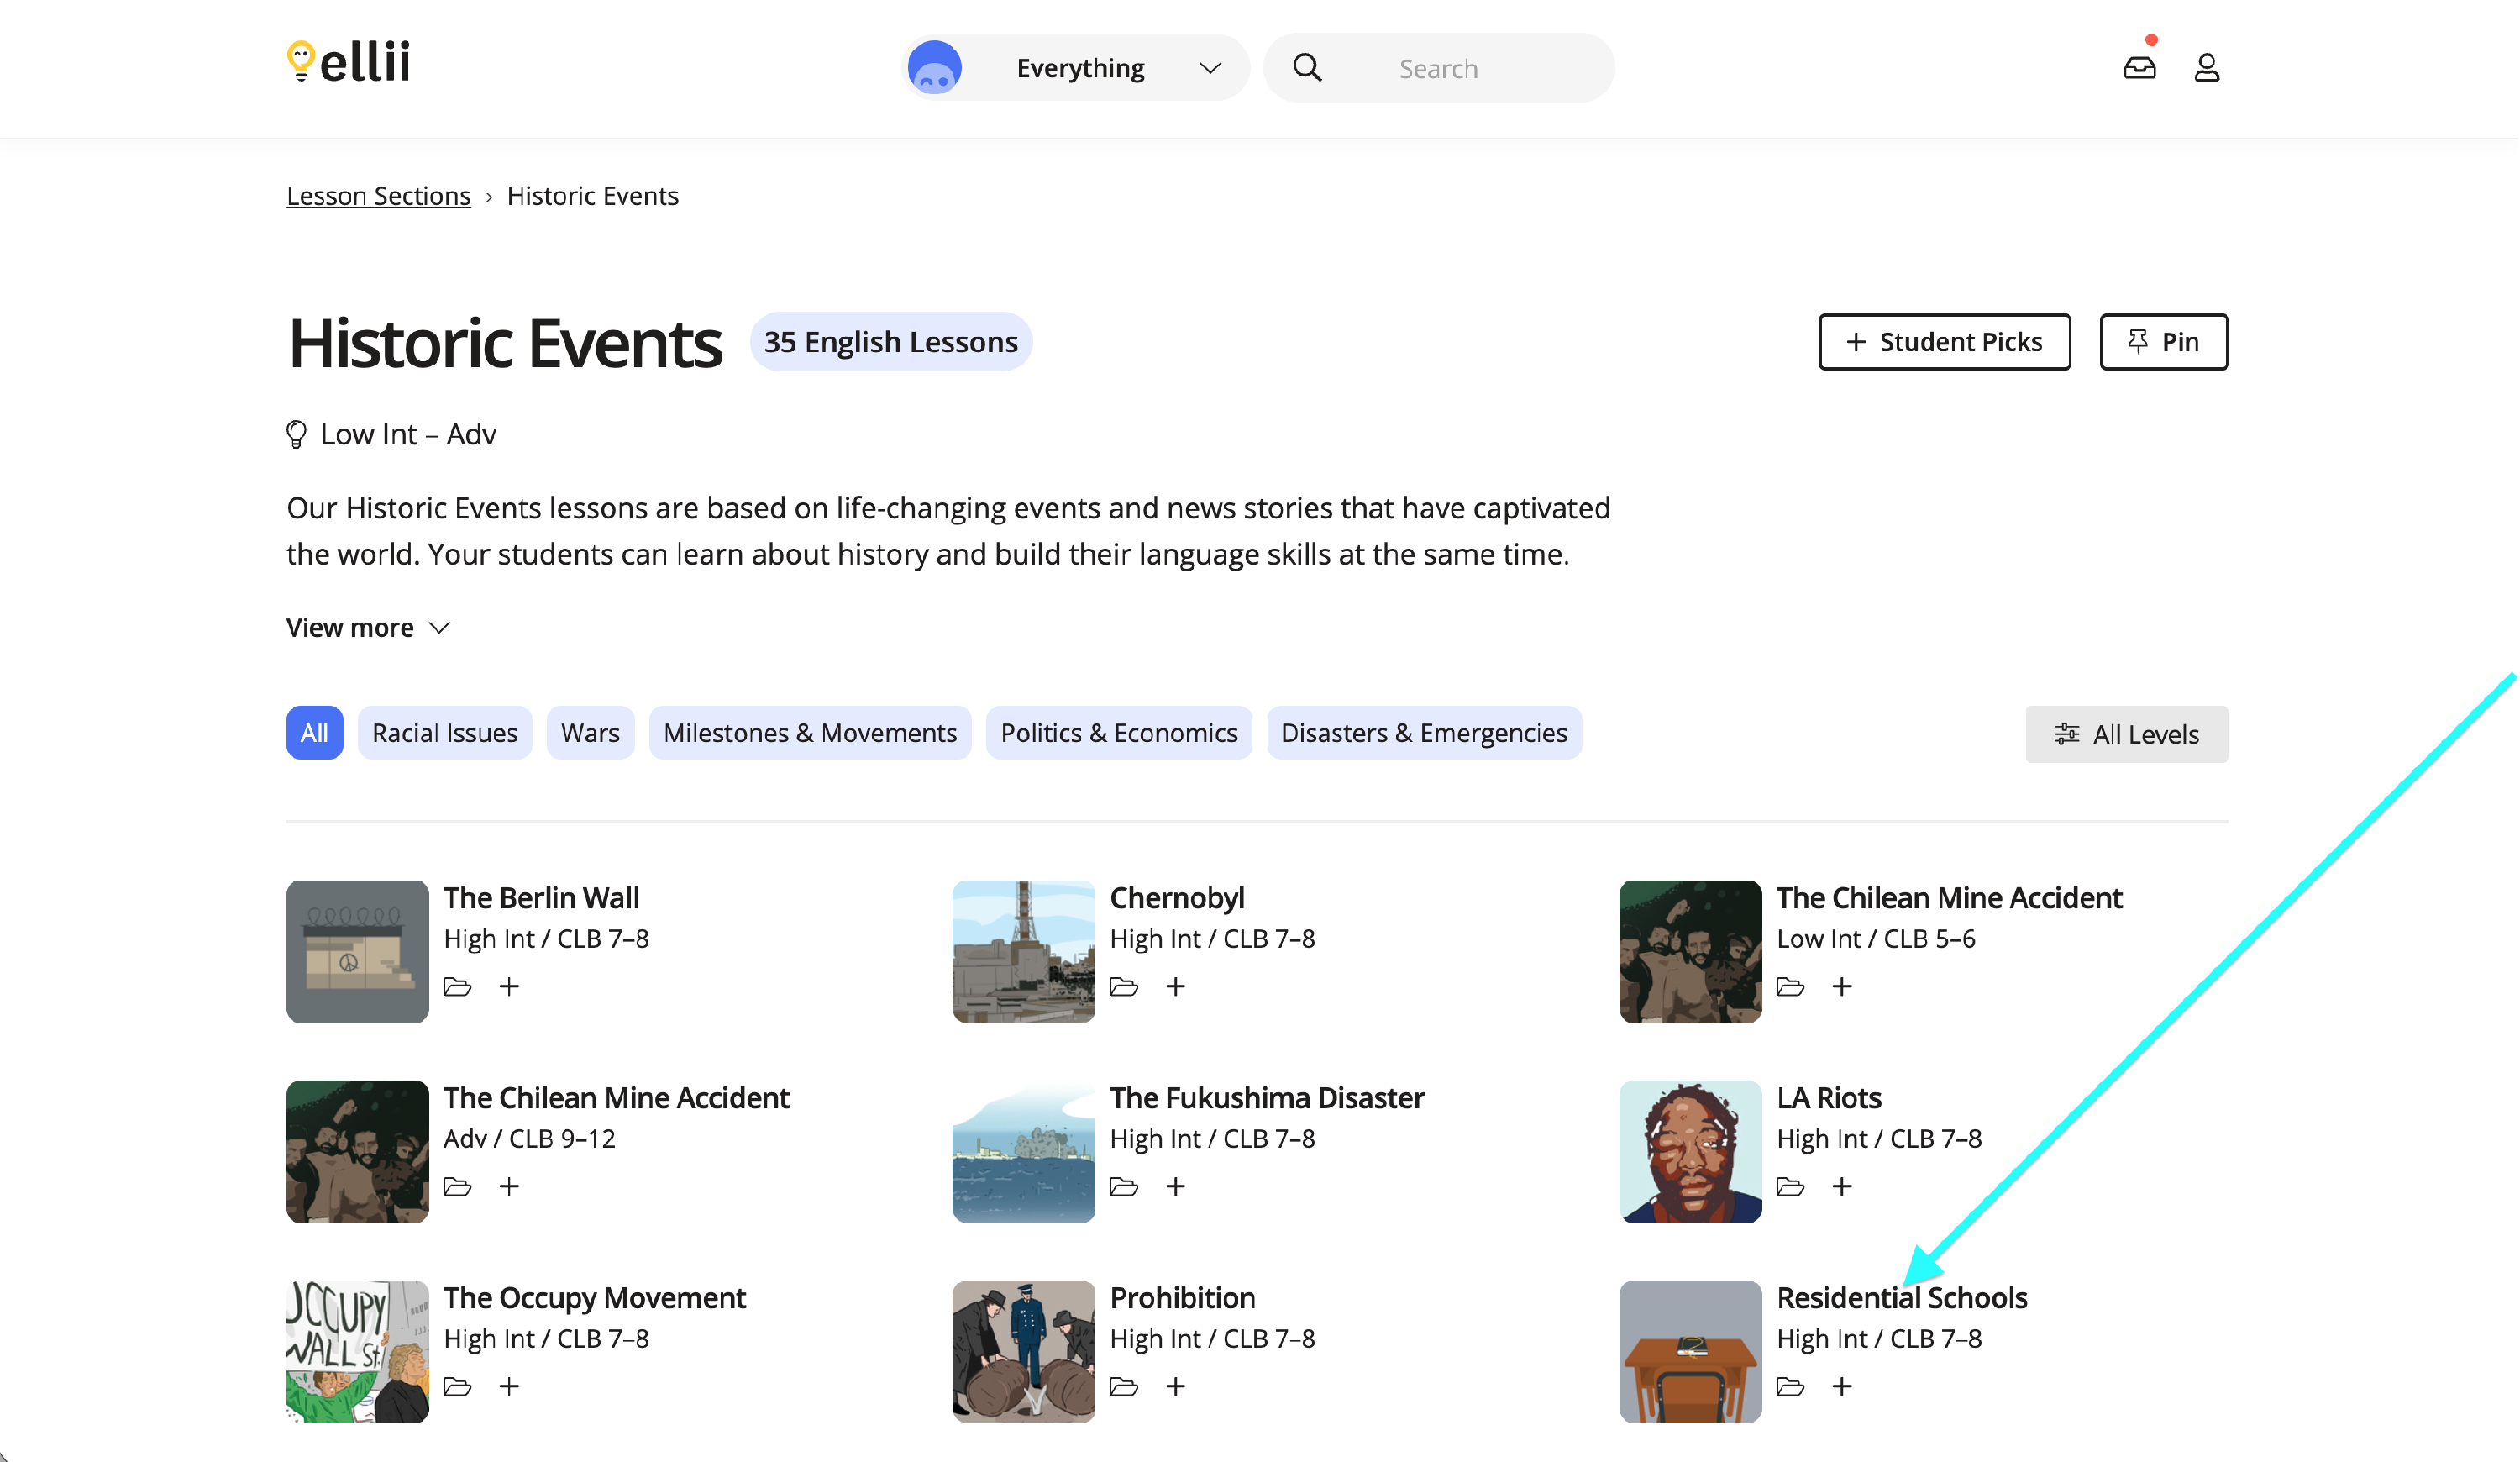
Click on a lesson you would like to view or print as a PDF.
Step 4
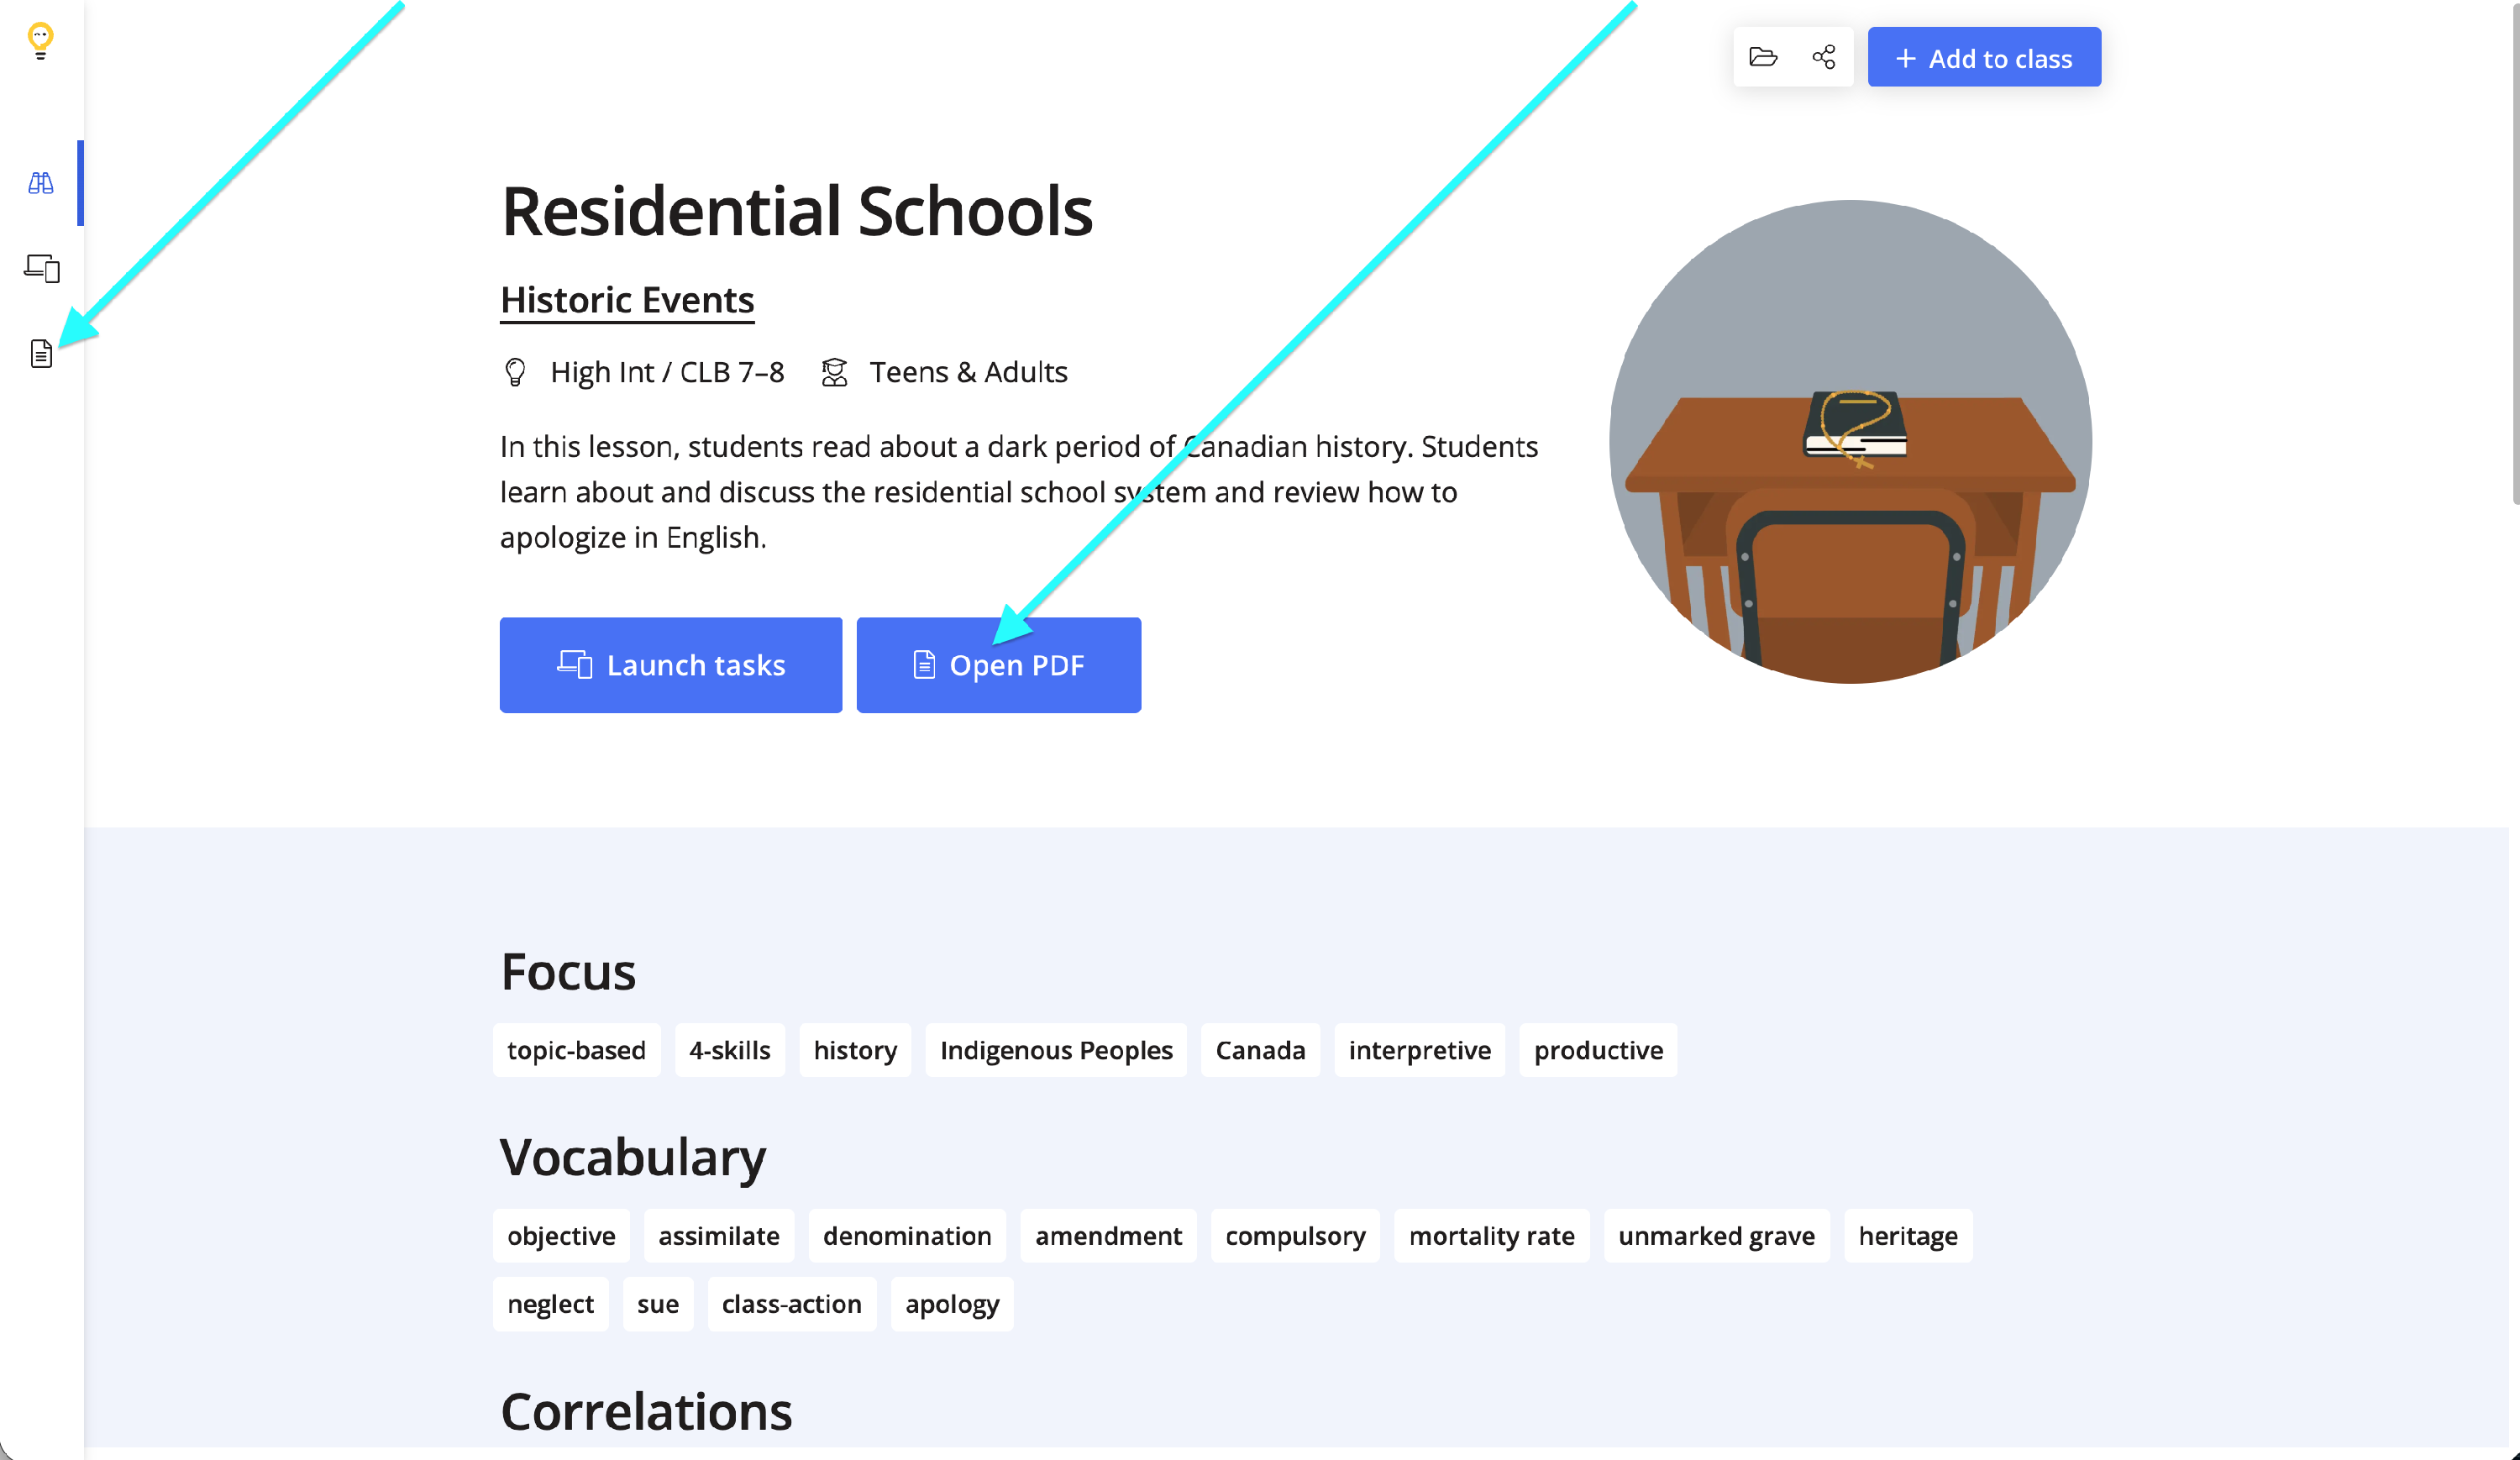
Once you have clicked into a lesson, you will click Open PDF.
Step 5
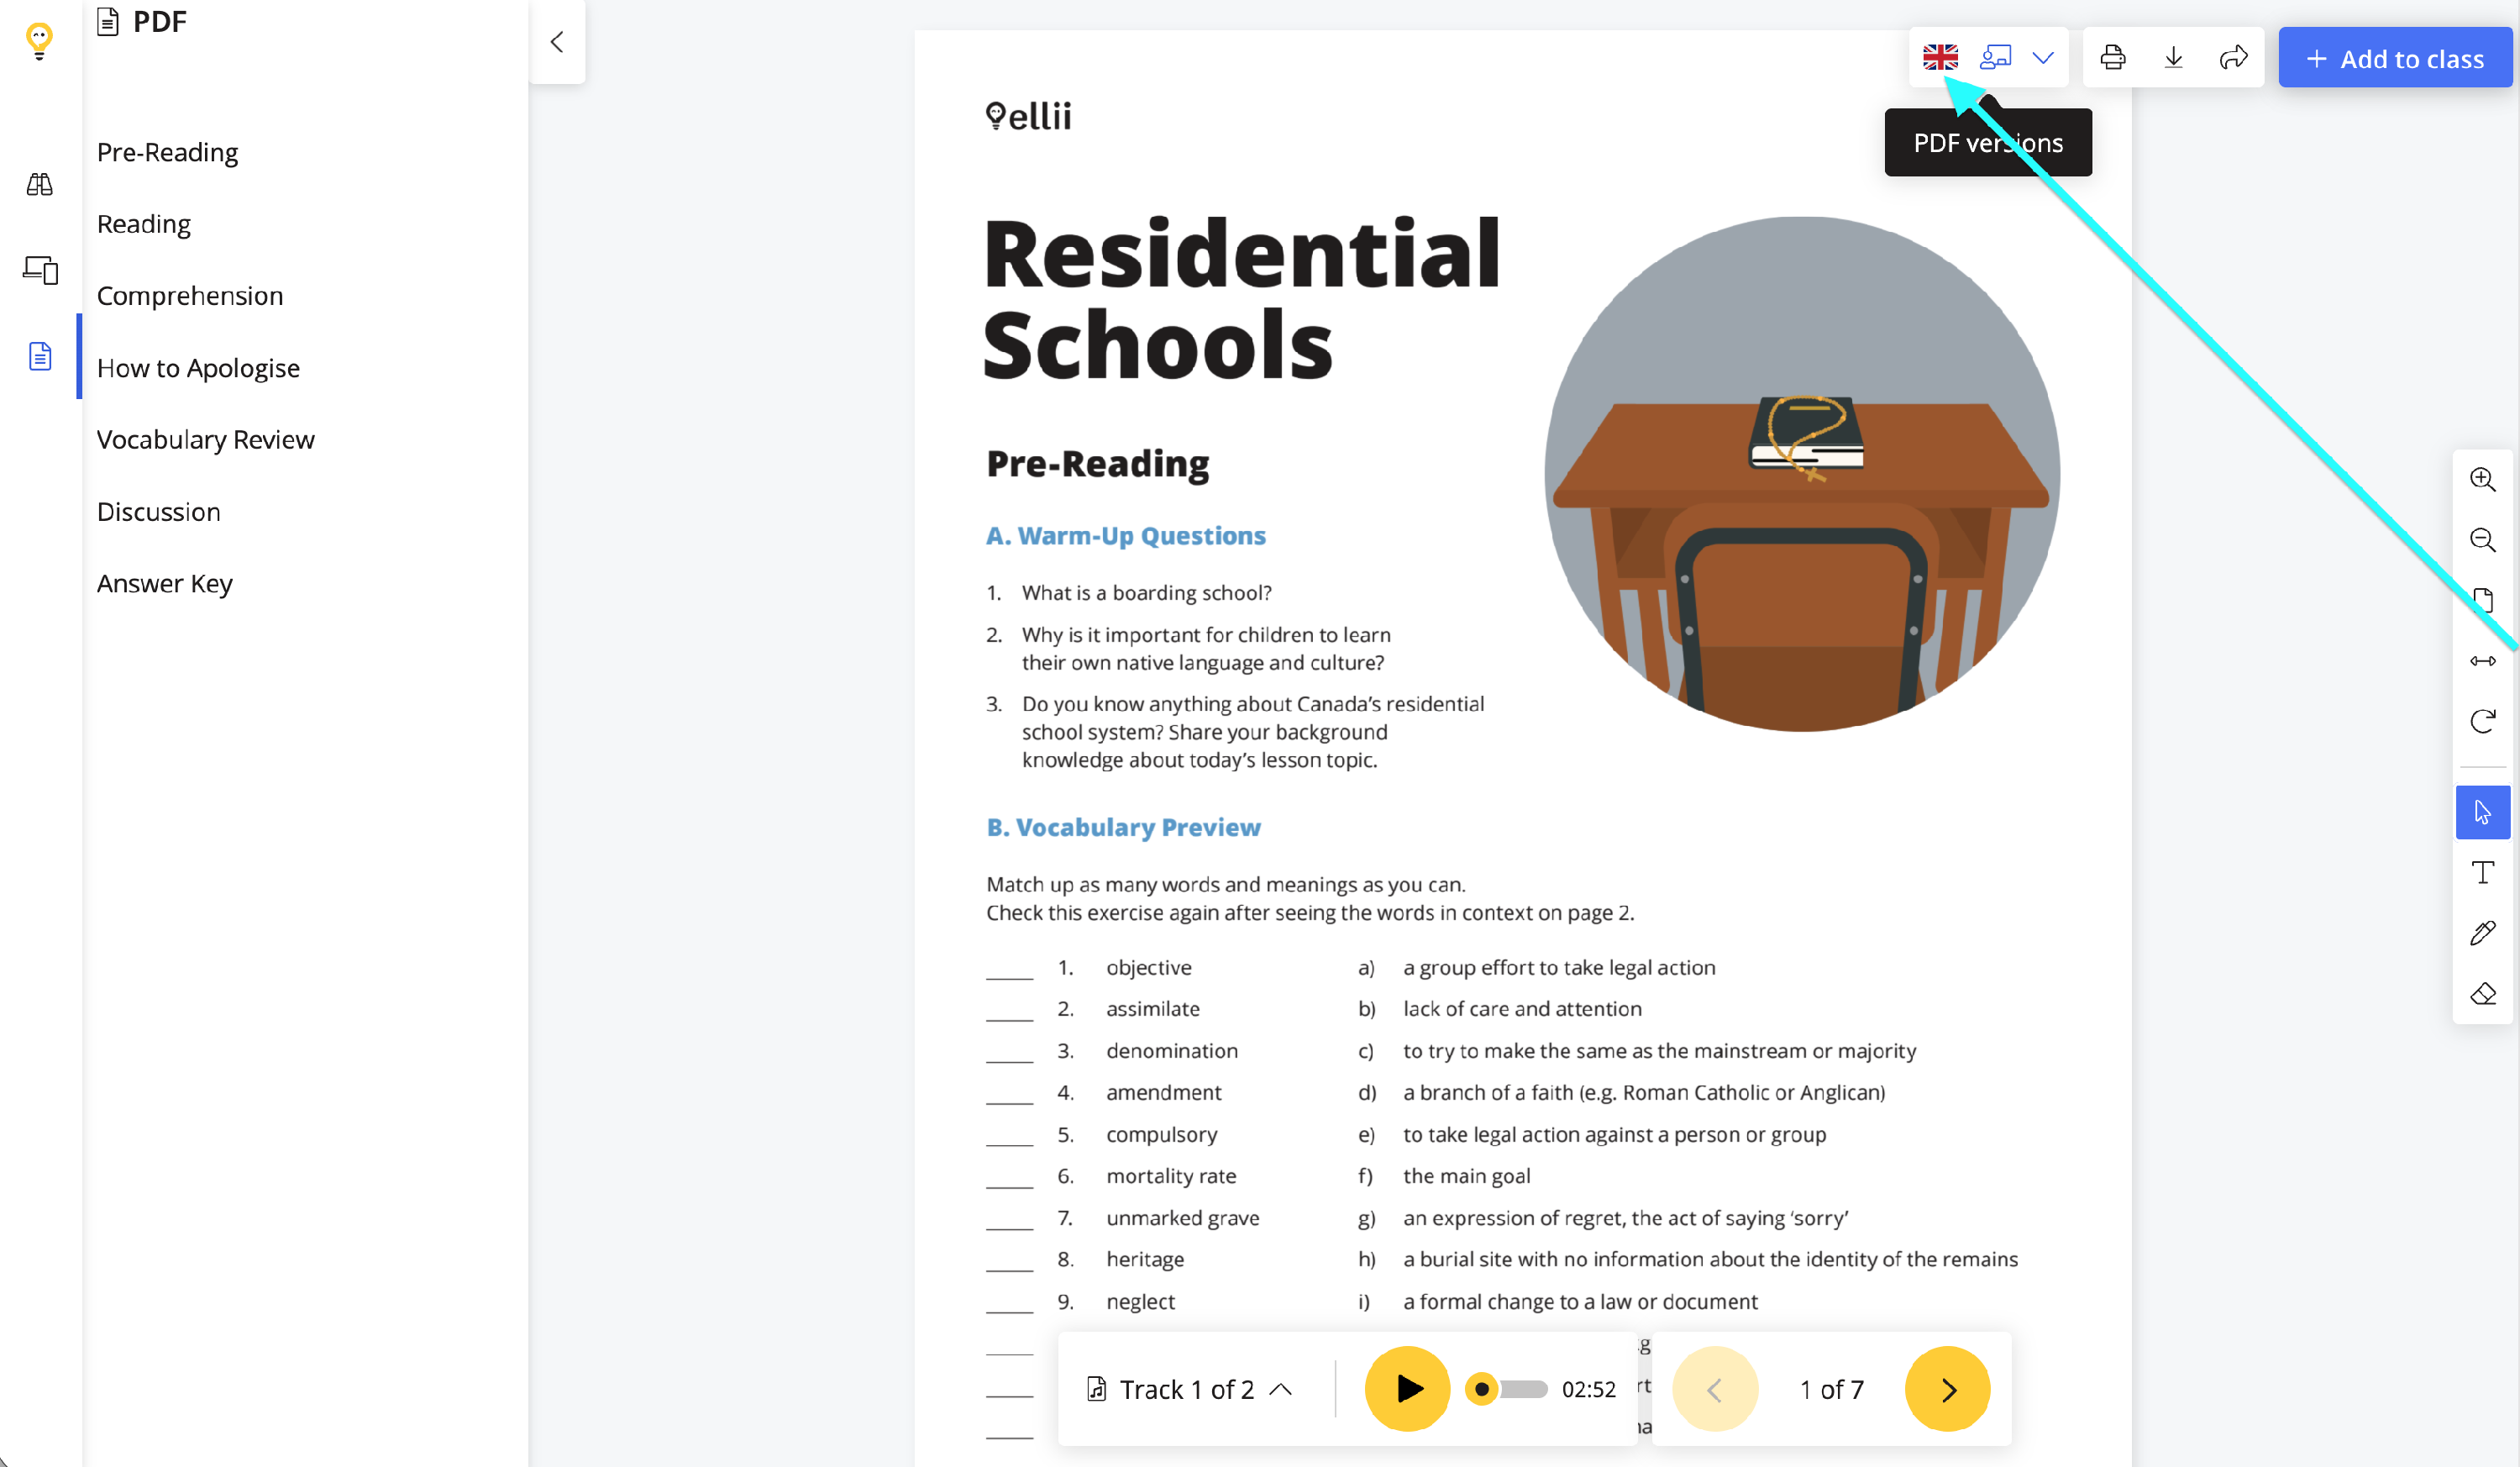
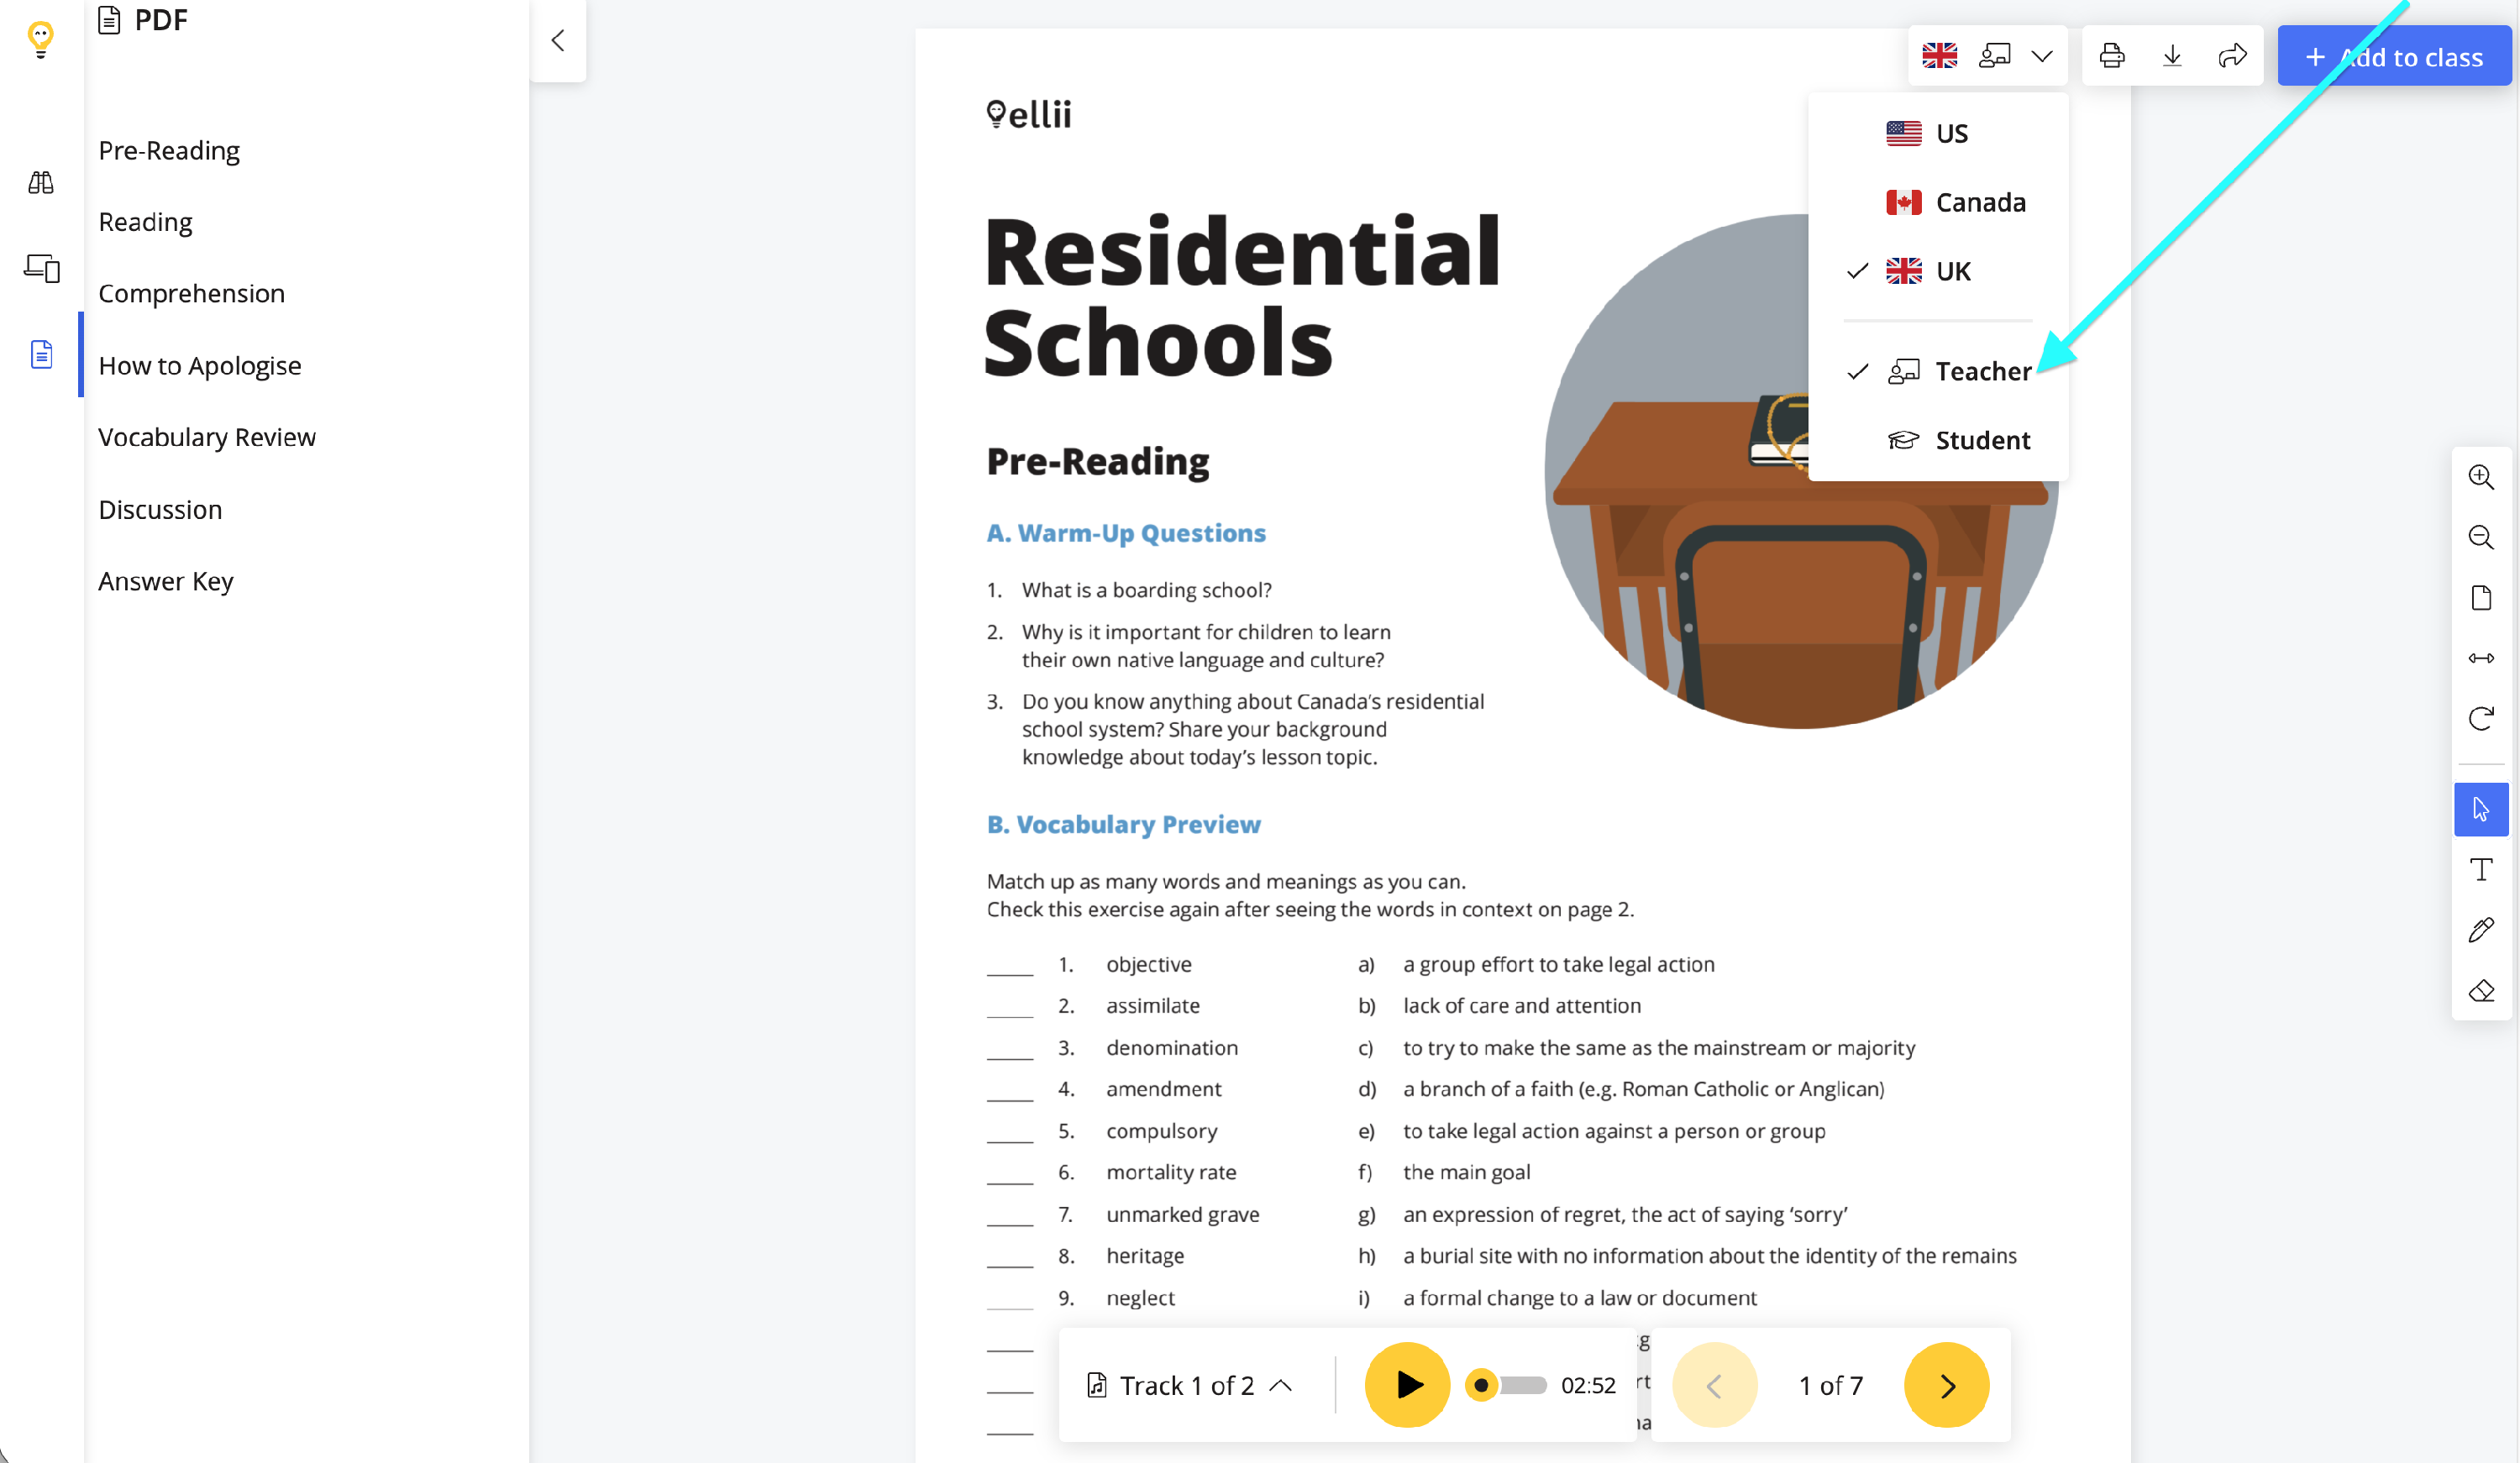
Click the PDF versions button to choose the teacher version. You can also choose the spelling from this drop-down menu.
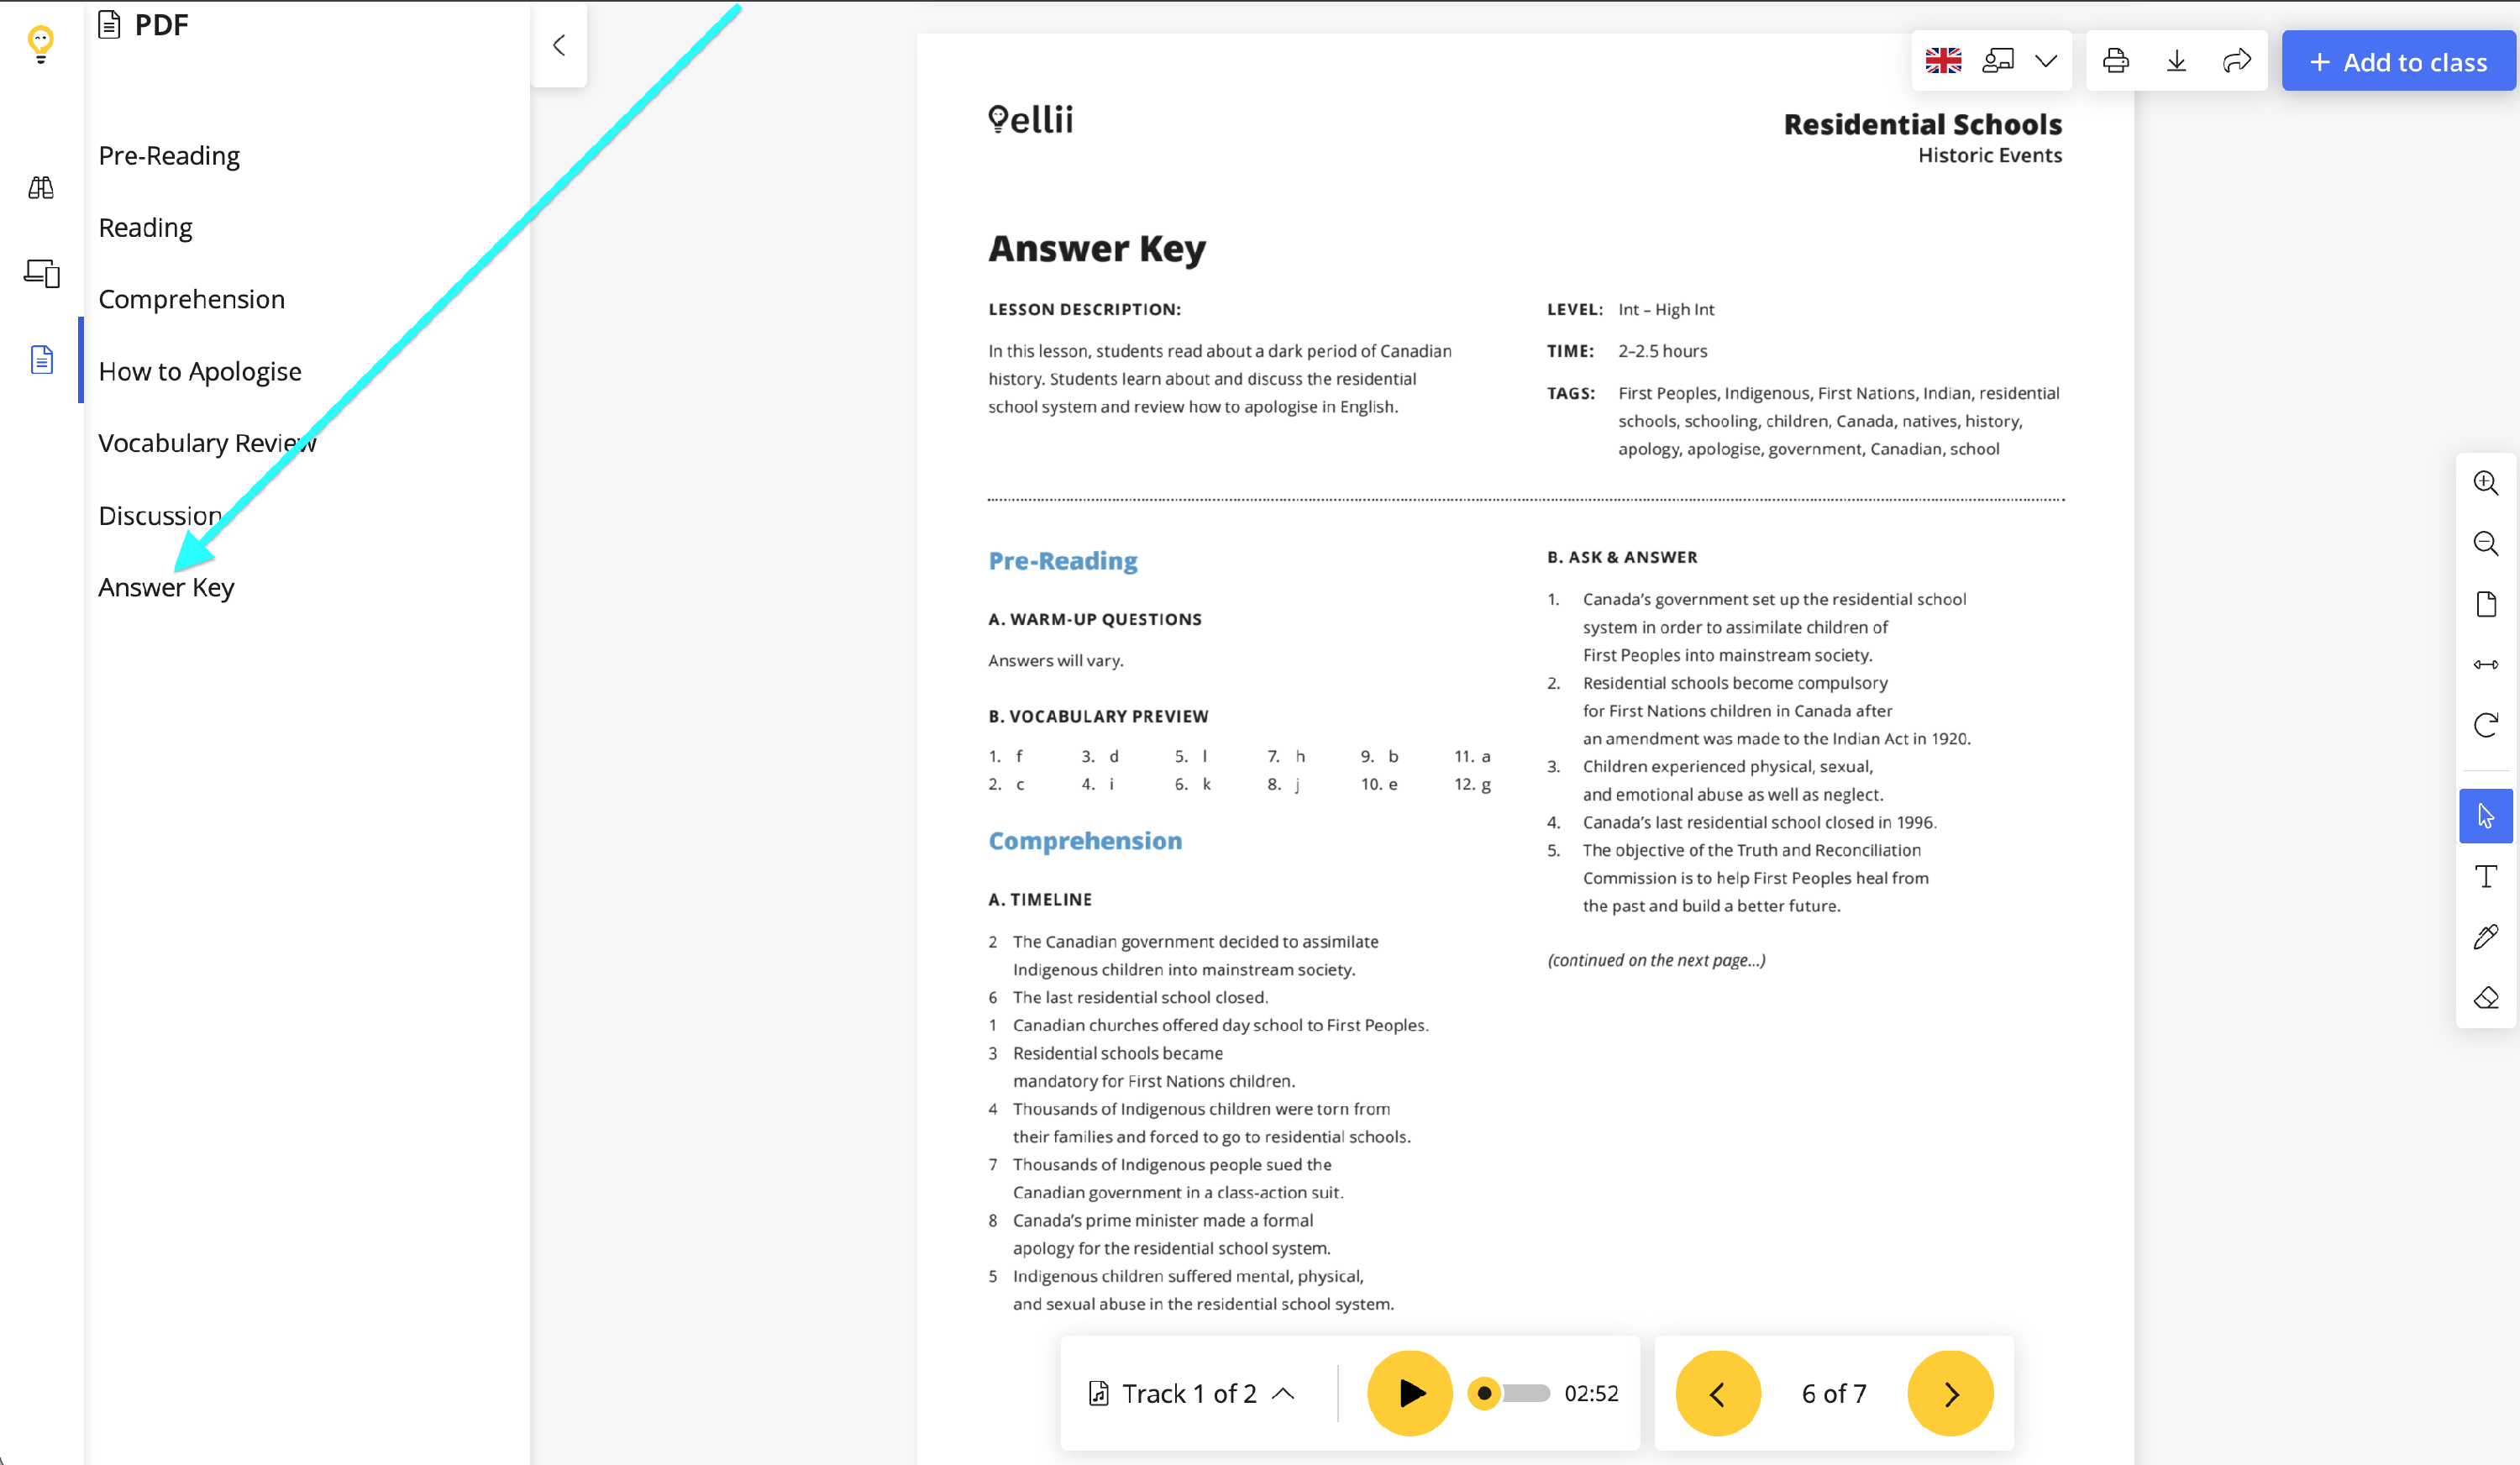
Once you scroll through the lesson, you will notice the final few pages are dedicated to the answer key, teachers' notes, and any other supplementary materials a lesson may contain.
Step 6
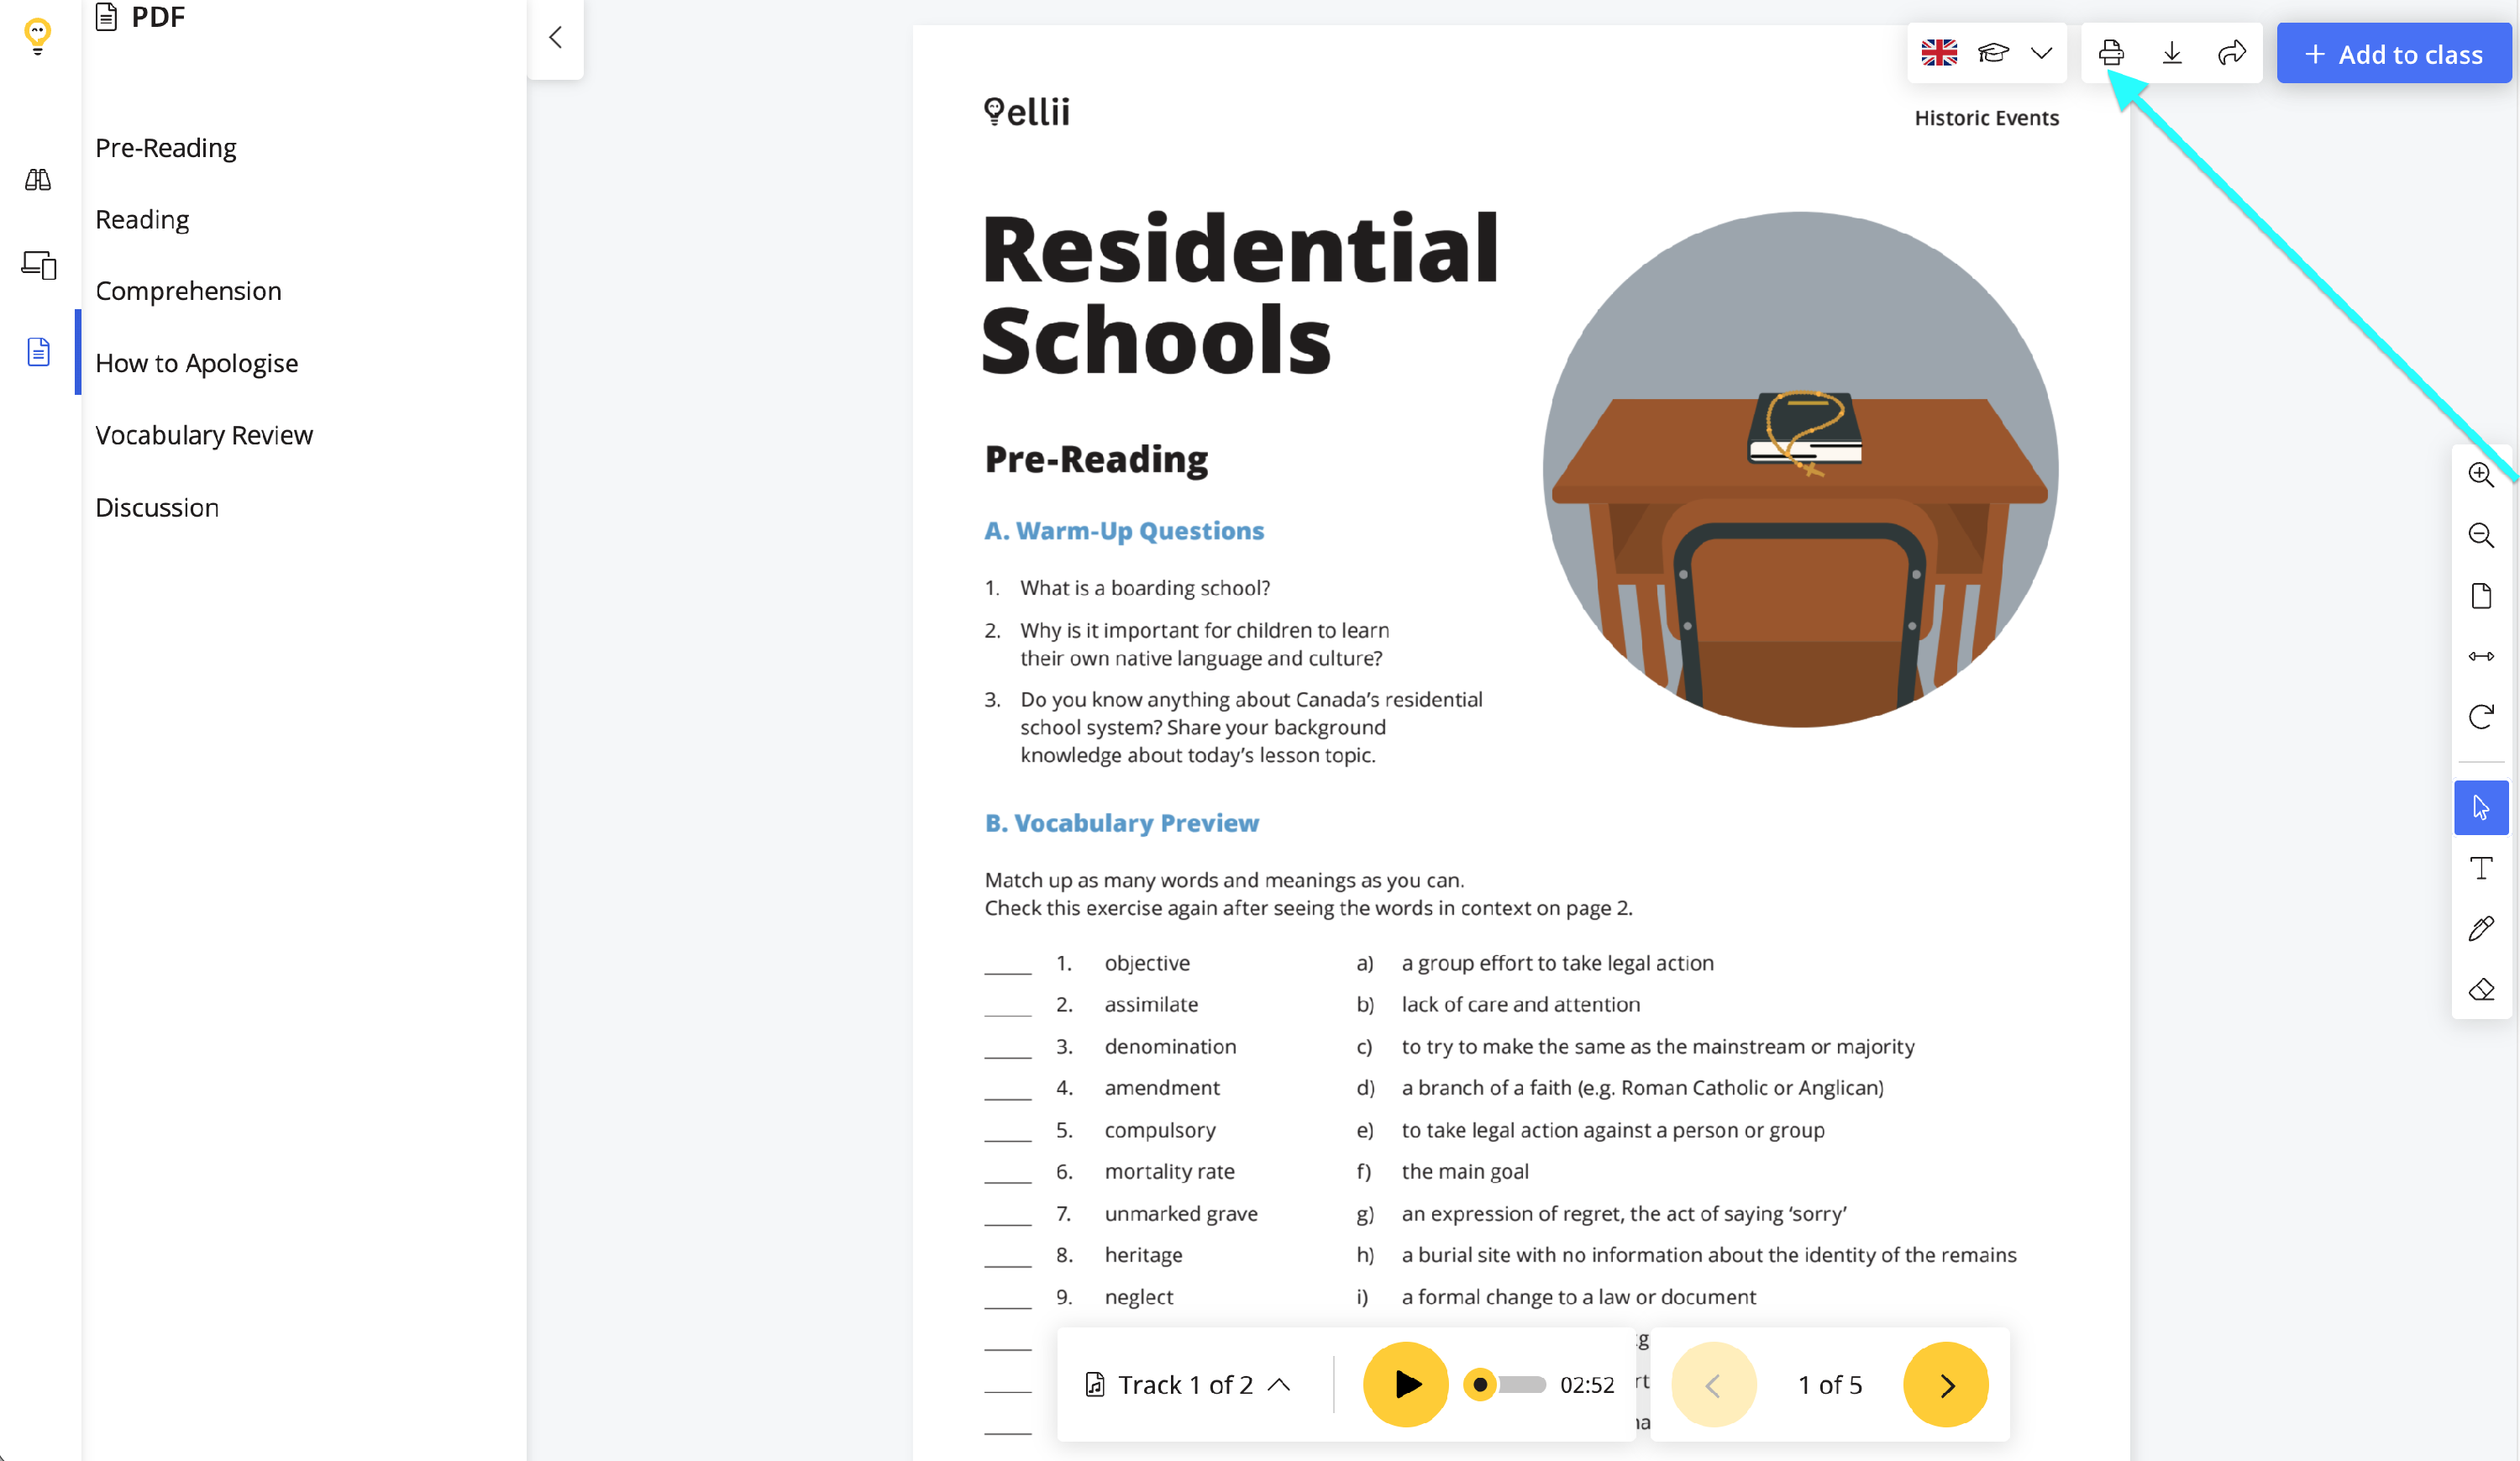
To print the lesson for class, select the print icon in the top right corner of the page (depending on your browser and the PDF viewer attached to your browser).
Please let us know if you have any difficulty locating the Teacher PDFs or if you need any help printing lessons.