How to Use the Lesson Planner
Please follow the steps below to learn how to add a lesson to a class, view the lesson planner, navigate the content drawer and use a lesson card.
Step-by-Step Instructions
Log in to your account here:
Adding a Lesson to a Class:
Step 1
Choose a lesson that you would like to add to your class, then click on Add to class.

Step 2
Select a class that you would like to add the lesson to and then choose a location.

Saved is where materials are stored for later use. These lessons are found in your Content Drawer.
Prepping is for upcoming content that you will be teaching.
Teaching will contain materials that are available to your students immediately.
Step 4
Click on Save to add the lesson to your class.

Step 5
A confirmation pop-up will say "Successfully added to class". Clicking on View Class will take you to the Lesson Planner for that class.

Viewing the Lesson Planner:
Step 1
Outside of the lesson page, to view the Lesson Planner, click on the Everything menu and select Classroom.


Step 2
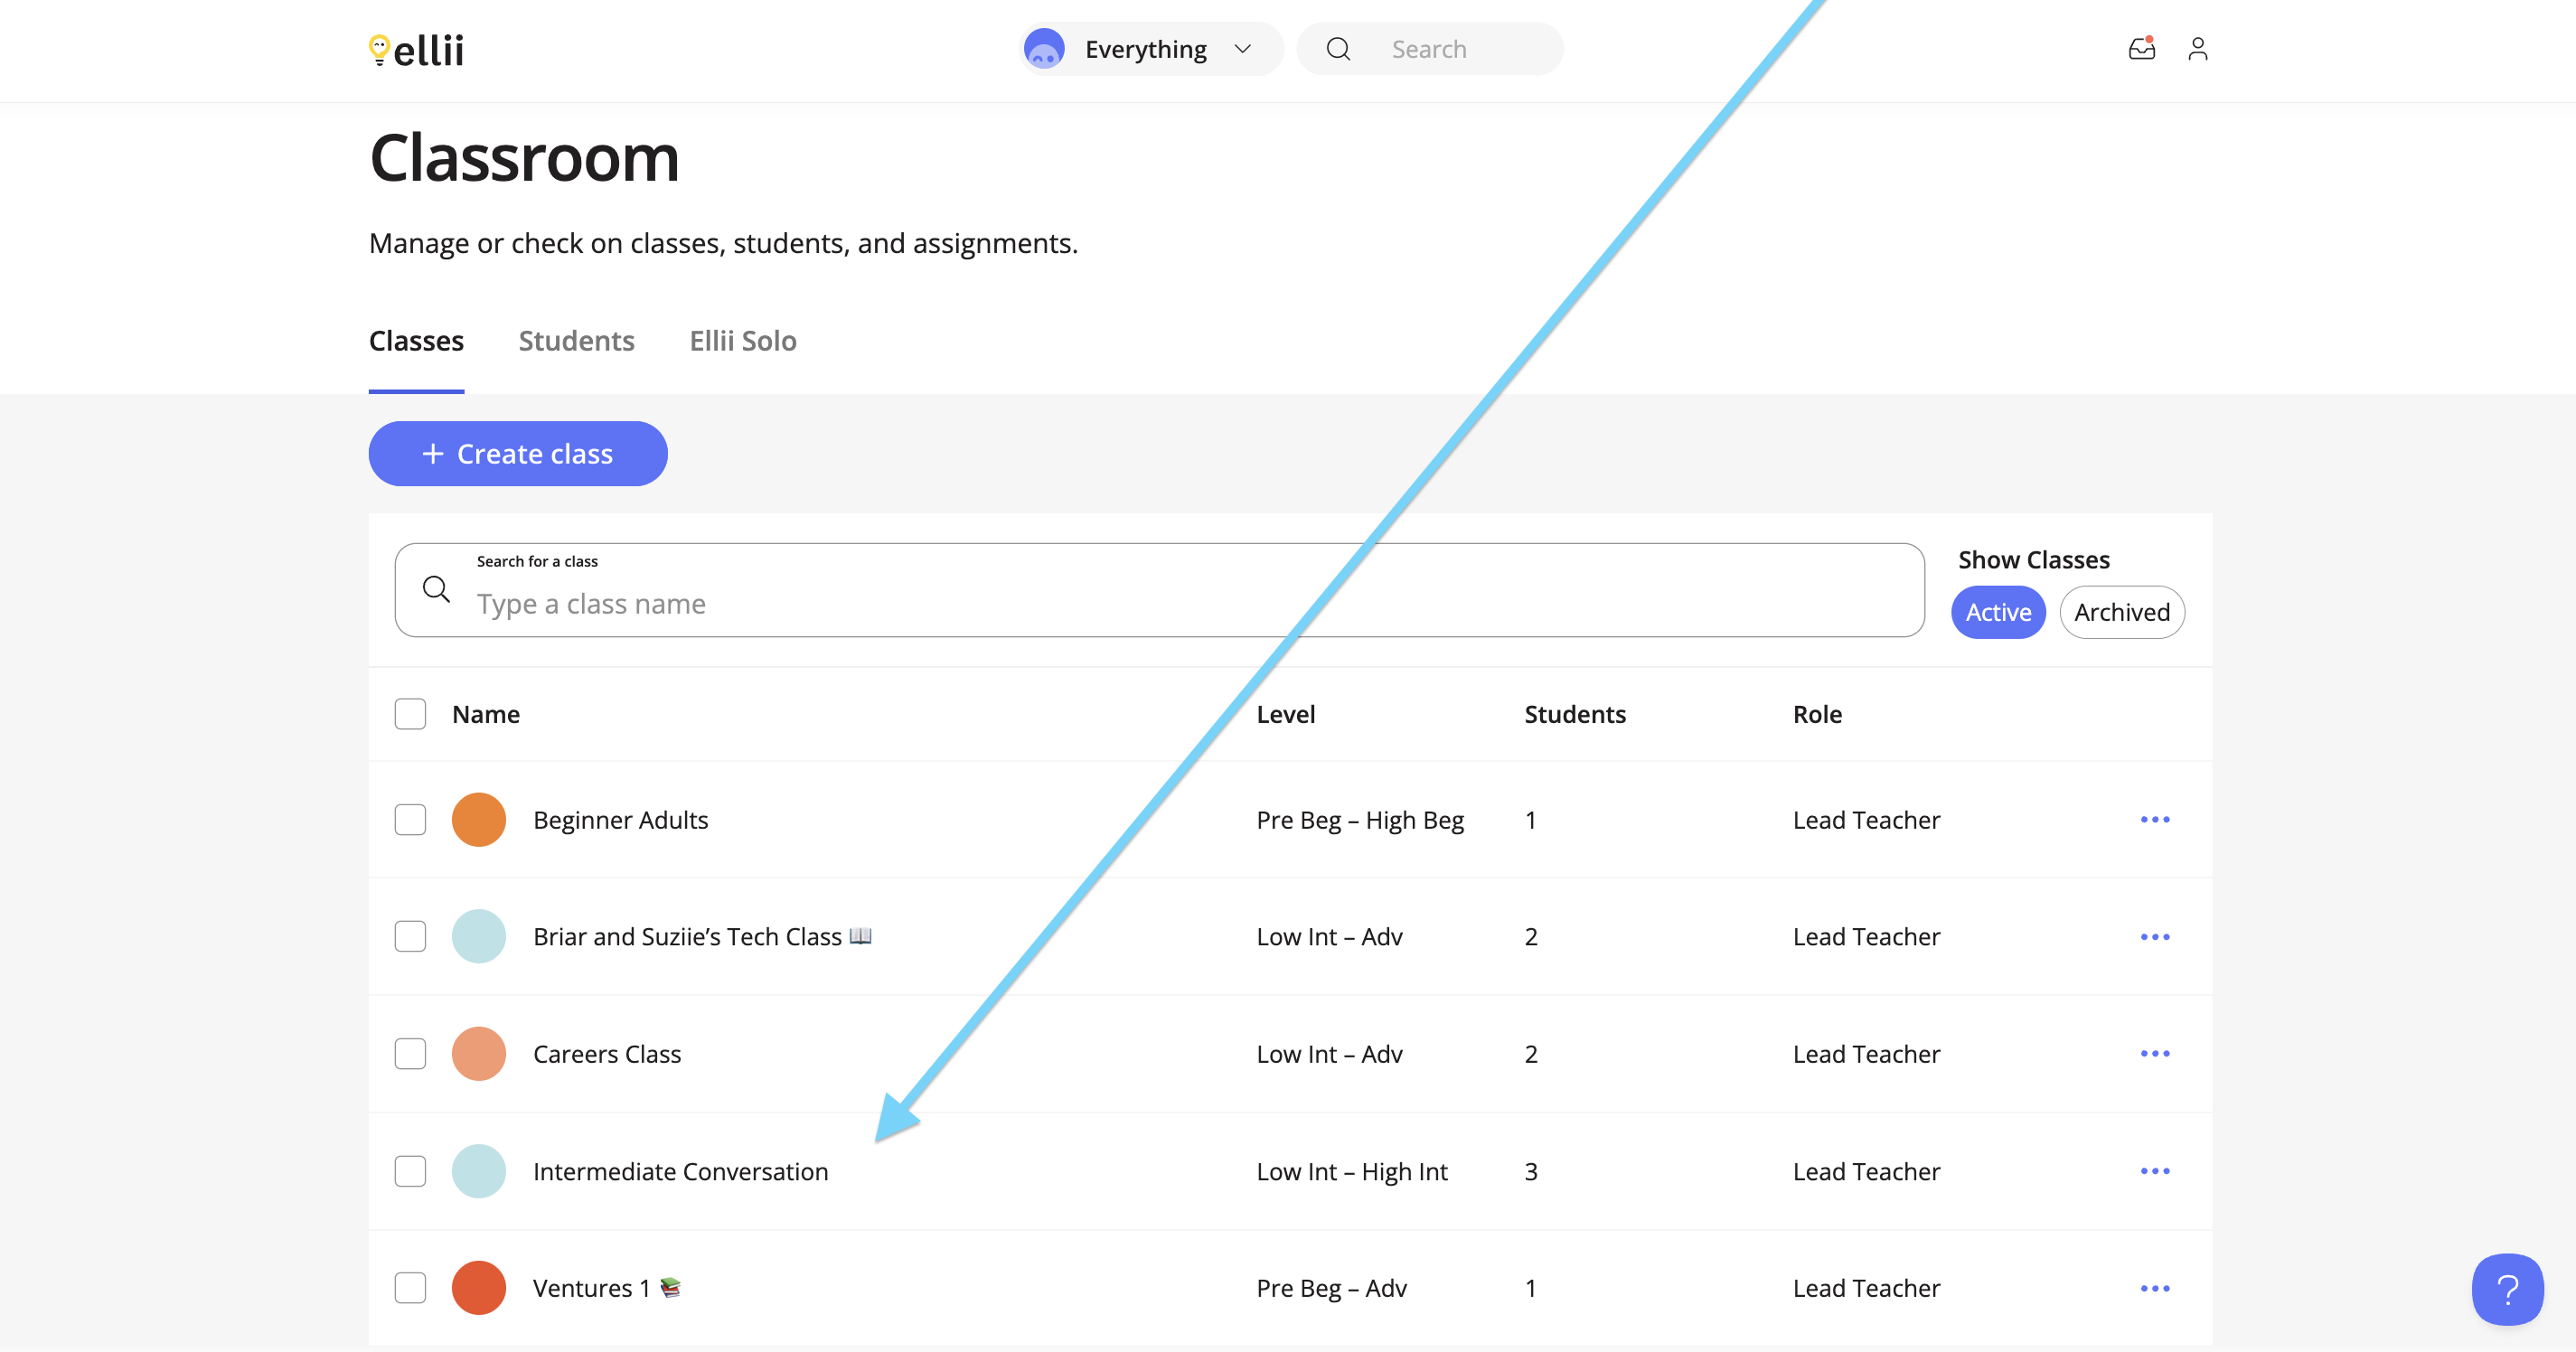
On the Classes page, click on the class the lesson was added to.
Step 3
Once inside the class, you will see 5 tabs: Lesson Planner, Activity, Students, Announcements and Details.

The Lesson Planner is the default tab and is where you see the lessons added to your class.
The Activity tab is how you access your students’ results across all their assignments

Students shows the students that are in the class and is where you can add new students to your class.

The Announcements tab allows you to leave class messages for your students.

Details contains information about your class and is where you can adjust class settings.

Step 4
On the Lesson Planner tab you will see 3 columns: Prepping, Teaching and Taught as well as the Content Drawer at the bottom of the page.
The Prepping column are for lessons that you are planning on using in the near future.
Teaching is for lessons that you want your students to have immediate access to.
Taught will contain past lessons after you have finished with them (your students will still have access to these lessons in their Past assignments folder).

Content Drawer will contain the lessons you added to the class for later use as well as folders pinned to the class, recommended lessons based on the level and age you selected in your settings for the class and Student Picks.

Navigating the Content Drawer:
Step 1
Clicking on Content Drawer will show the lessons that are currently stored here for future use.

Step 2
Clicking on a lesson in Saved from the Content Drawer will prompt you to move or delete the current lesson.

Step 3
Under Folders, you can view your pinned folders.

Step 4
Under Recommended you’ll find lessons recommended for your class’ level and age.

Step 5
Student Picks can also be found within the Content Drawer.

Using the Lesson Card:
Step 1
For ease of use, you can drag the card from one column to another.

Step 2
Clicking on the lesson will also allow you to:
- move the lesson from one column to another
- add an optional Due Date or Note
- include or remove the PDF version of the lesson
- view students results
- post the lesson to Google Classroom
- copy and share the link to this lesson via an LMS or email
- delete the lesson from the Lesson Planner for this class.
Click Save once finished.


Step 3
Under the Scheduling tab, you can choose a date for when a lesson is moved from one lane of the Lesson Planner to another.

Click Save once finished.
Step 4
Under the Students tab, you can choose specific student(s) to assign the lesson to.

Click Save once finished.
Student View:
Step 1
After logging into their Student Dashboard (https://ellii.com/students), students will click Ellii on the left if they have access to both Ellii and Ellii Solo. (Students who do not have access to Ellii Solo can proceed to the next step)

Step 2
The student will then click on the class the lesson was assigned to.

Step 2
Once in the class, students will click on the lesson to begin working on it.


Step 3
Students can also view any class announcements by clicking the announcement at the top.

Please reach out to us if you have any questions!